
Sometimes we come across some epic scene while watching our favorite streamers on Twitch. And we feel like the scenes that we have seen deserve to be saved to either re-watch it again or share it with friends. And with Twitch Clips feature, saving these type of moments is very easy and simple, and it only a few clicks.
Thanks to Twitch, capturing clips can be done on every platform. Whether you are watching it from your PC, Phone, or Tablet, the process will remain easy. And today we are going to guide you throughout the few steps that you need to go through, in order to save your desired clips.
For PC Users
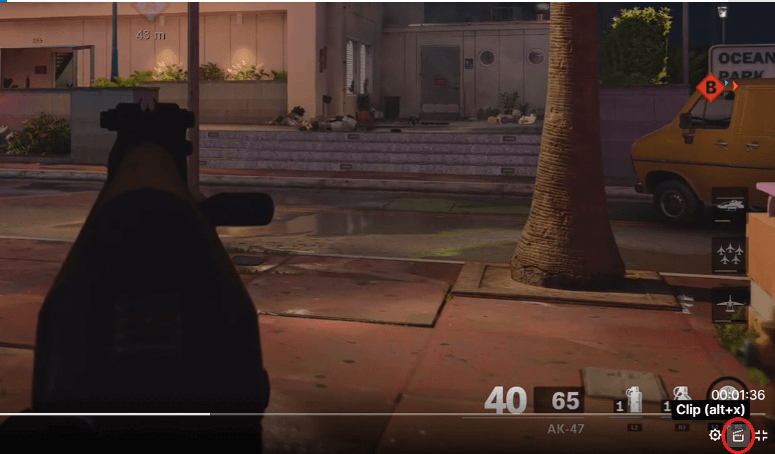
First, choose the video where you want to get the clip from. Then, you will either have to press “Alt + X” or head over the icon where it has the red circle on the picture above. After following one of the two methods, a new tab will open. The tab will give you access over the video you want to take the clip from.

In order to select the moment you are interested in, you will have to drag the yellow bar. You can either reduce it to a few seconds or increase it up to 60 seconds (maximum).
A title will be required in order to finish the process and publish the video.
For Mobile & Tablet Users
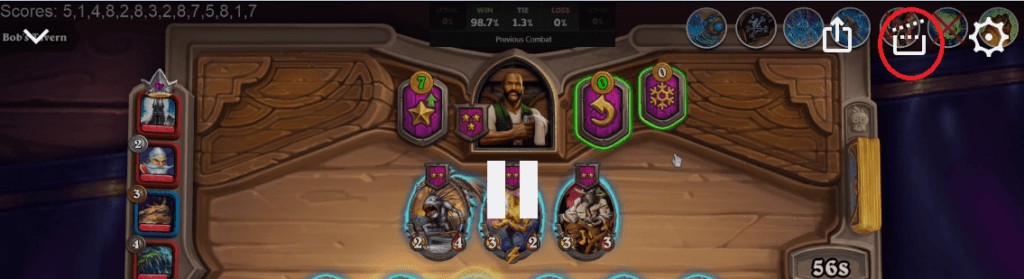
The first step will be the same as PC users by selecting the video you want. Then press the Clip icon which looks the same as the one on the picture with the red circle.
The rest of the steps about selecting the moment, and publish the video after typing a title for it will also remain the same.
We hope that we have given you the information that you are seeking. If you got some questions to feel free to leave a comment below, and if the answer requires a guide like this one, then we will be glad to write it for you.
Also, if you want to join the streamers community, you can visit our different type of gaming PC builds at different budget, which will allow you to provide high-quality moments just like professional streamers.